Wednesday, January 3, 2024

Catherine's Wheel


 I posted December 17, 2020 about making an ornament which is called prairie wheel (USA) or Catherine's Wheel (UK).  The latter being of more historical significance.  It is named for the patron saint Catherine from the 4th century who was tortured for not renouncing her Christian religion.  She is the patron saint for students, preachers, philosophers, as well as single women.  

In this post, I am revisiting the Catherine's wheel and how to make the ornaments. First thing to do is decide on the color scheme you want.  It can look scrappy, or use one color, two colors...whatever you have on hand is fine.  The middle of the wheel is a small pillow that measures 3" in diameter and will be entirely covered, so it will not matter what fabric or color you use for this.  Muslin works great and is easy to sew through.  You will need:

12 - 2.5" squares of prints, solids, or combo of both

2 - 3" circles of muslin, or a center pillow

Poly-fil or scraps of batting for pillow stuffing

Strong thread (I use buttonhole/craft thread)

Buttons, beads, or trims for the centers of each wheel (to cover your stitches)

DMC floss or Perle cotton for a hanger

Hot glue and glue gun (optional)

Size 6 or 7 sharps needle, small scissors, thimble, sewing machine (optional)


Sew the circles together using a 1/4" seam allowance and a long thread (about 30").  Make a small slit through one of the center circles, turn and stuff.  Be sure to put enough polyfil in the pillow to make it filled but not so tight that you have trouble stitching the opening closed.  Stitch the opening closed by whip stitching, then bring the thread through back to the center.  You will be sewing each spoke from the center (front and back).  Now, make a couple stitches through the pillow center to secure, but do not tie off.  


Fold one 2.5" square at a time.  Fold in half on the diagonal, then again on the diagonal.  You will have a triangle with two folds on one edge, one fold on the ajacent edge, and all the raw edges aligned on the straight edge.  Gently fold the triangle over the edge of the pillow and make a tacking stitch through the center catching the points to secure to the center. 


 Do not cut the thread.  Continue with the next spoke in the same way.  Be sure to cover the raw edges with the next triangle overlapping slightly.  You will be able to adjust the spokes in the end.  Tweleve triangles will fit when spaced apart.  Mix or match your color choices as you go around the wheel.  Gently tug and separate each spoke as you go making a tacking stitch through the center.  When you come to the end you can do one of two things.  Make a secure knot and cut the thread.  If you cut the thread before embellishing, this is where you can glue on your buttons, beads or trims.  Or you can thread on your embellishment and tack down to each center, then tie off.  You can also use a tiny bit of glue inside the spoke and onto the pillow edge just to secure it to the top inside of the pillow.  In a couple places, this can be quite effective in keeping its integrity.  However, it's not necessary and it is just an ornament, not to be used as a toy or for any other purpose. 


 The final thing to do is to add perle cotton thread, dmc floss, or thin ribbon trim to hang it from.

Viola!  You're done.  Honestly, I do this while watching TV and can make several in an hours time, and what a great project to use up those scraps or strays from jelly rolls.  :o)  Happy Sewing!


Saturday, December 16, 2023

Preoccupied


Looking back on this year, I can say a lot of work has been started and some has been completed.  Some of it was easy breezy and some was lost in a fog of proccupation of one thing or another.  Resulting in UFO's, starts and stops, and downright bin fodder.   Not complaining here, just simply remarking of the processes in growth and development of the art form.  Sometimes being preoccupied and diverted is a very positive thing.  


Note:  the top portion of this post was drafted at the end of 2023, many months ago, and I never finished it.  More preoccupation.  But, now being September 2024, I look back on this year and am happy with the progress made.  I will always have some UFO's that linger for months or even years.  Motivation and interest has to keep me going.  Letting go of things I don't even like anymore is important for me to grasp.   Inspiration is, luckily, something I think I may always have.  So many topics and techniques to explore. 

For now, back to sewing...


Friday, July 14, 2023

More stitching


Long stitched concentric circles on rough 4-patch squares.  Hand stitching is very satisfying and therapeutic.  My mind is fixed on doing one motion, one direction, and no crossed lines.  Small scraps are transformed into interesting blocks.   Easily tucked in my bag for on-the-go stitching I can take anywhere.   When I get enough of them, I'll stitch them together.   For now, I'm enjoying the process of choosing scraps from my overflowing bag.  I also have a rainbow of threads to choose from to either contrast or match.  Lastly, the buttons.  Lots and lots of buttons.  

I blogged some time ago about my button box.  I actually have more than one button box, more than 3, no I have 5 tin button boxes.  Not tiny ones, those big ones that cookies or other goodies once held.    Maybe I will make a dent if I keep making these squares. Hearts, ornaments, and whatnot called for some buttons, but, I've also been incorporating buttons and beads in some of the landscape art quilts I made like this one.  My DS shot some videos while he was traveling in Amsterdam.  My interpretation depicts the amazing acres and acres of fields of tulips and wildflowers he saw.   It's an awe-inspiring sight.  


Friday, July 7, 2023

Round 5 of NQM/BOM

 The National Quilt Museum (NQM) Facebook page has put out the BOM round 5 which started in May and will go until December.  I really debated whether to participate or not.  I've never been a real fan of sampler quilts and all the rounds except for one have been samplers.  But, it is a great way to learn something new and see what other members are doing.   In this round, the size has been changed to 12.5" X 25", and were instructed to orientate it as we want, either horizontally or vertically.  I want to do both vertical and horizontal, so I will plan as I go.  

I am using some of the ice-dyed pieces I made previously for this round and will incorporate commercially dyed fabrics that match when or if needed.

May's block was a good start and not too challenging.  

It took me all of June to come up with the second block, finishing it up a couple days before the 30th.  I was put off by the blocky style of it.  My DH thought it looked pixelated.   So, I interpreted it as a river with rocks, nearby trees, and fireflies dancing in the moonlight and instead of making the pieced leaves as they did, I appliqued my own.  

Here we are in July already.   As soon as it was released, my DH said that the block reminds him of the old Trivial Pursuit game that comes with pie pieces and fits into a circle.  He does not like pie charts, so I wasn't keen on making the block as the pattern showed.  I wanted the block to represent something personal.  

This is what I came up with for my July block.  It's whimsical and fun, so I hope I can stay on this track for the remainder of the months.   


I have a feeling I will run out of the dark background fabric before finishing the final block.  I bought it a few years ago when it was on sale and maybe it's not available any longer.  But, I'll search for it.  If I have no luck, the alternative plan is to find something similar in my stash and make it blend in enough to not take much notice.  

Now I can sit back and wait for the August block to be released.  It's fun to imagine what might come next. 

Maybe that's part of the allure to make the NQM Block of the Month project as they are always released on the first and you have no idea what will come next.   


Wednesday, March 29, 2023

Diary of a quilt

 Dear Diary, 

Remember those 5-year diaries from years ago?  Writing entries as if the diary itself is somehow a sentient being with thoughts and possible answers.    Instead of the archaic term "diary", I refer more to journaling these days, with thoughts, doodles, drawings, ideas, or even poems.  Journaling has less to do with personal struggles and more to do with my life journey, artistically.  This is National Quilting Month.  I have been re-evaluating myself and what I want to achieve on my quilting journey.  I went to Quilt Con in Atlanta in February.  It was a good show, but a little disjointed in presentation.   After seeing all the quilts, attending 2 of my 3 classes, sitting in on a couple presentations, and purchasing too much, I've come to a couple realizations.  

  Number 1,  I need to be more prepared and make a checklist of items or products I want to purchase.  I was completely prepared for my classes, but less prepared for the weather, packing light, walking long distances, and time management.   

  Number 2,  Bring extra memory cards.  My camera ran out of space, so I switched to my phone's camera.  This was my only option, but not a good one. 

  Number 3,  take notes, and bring a journal.  Not only in the classes but if an idea sparks, I want to notate it before it escapes me.   Make a sketch, jot down an address, and so on. 

Being National Quilting month, I tried to search my UFOs to find the oldest and get at least some progress on it.  I found one from 2012.  It was an idea with materials and embellishments attached.  I vowed to dive in and finish it by the end of this month.  Well, this mental push worked in a way.  The piece is nearing completion, but will not be "finished" by 31 March.  It's OK, though.  I'm good with that.  Knowing that I can push all other things aside and prioritize to meet a deadline is important and I'm so thrilled with my accomplishment so far.  

Every quilt has a story, so I'm told.  I look at my work and think, "what is my story".  I'm not sure there is one.  All I do and have done, I've done because I want to learn or try out a technique.  Beg the question, "what if..." I change things, add things and sometimes never revisit things.  I find out what I love, what I hate, or what I can tolerate.  If I had just made everything using one technique like paper foundation piecing...how boring would that be?   For me...devastating. 

I believe all artists have to grow and expand their work, and their knowledge moving on to better things.  Discovering their own style along the way.  Is this discovery ever finished?  I believe...no.  


Thursday, March 9, 2023

Big Stitch along

 Stitching a line of running stitches can be relaxing and calming in a frazzled non-stop world.  To start a big stitch project let's gather some materials and tools and get started.  There are not many and this project can be a compact work that you can take anywhere. 

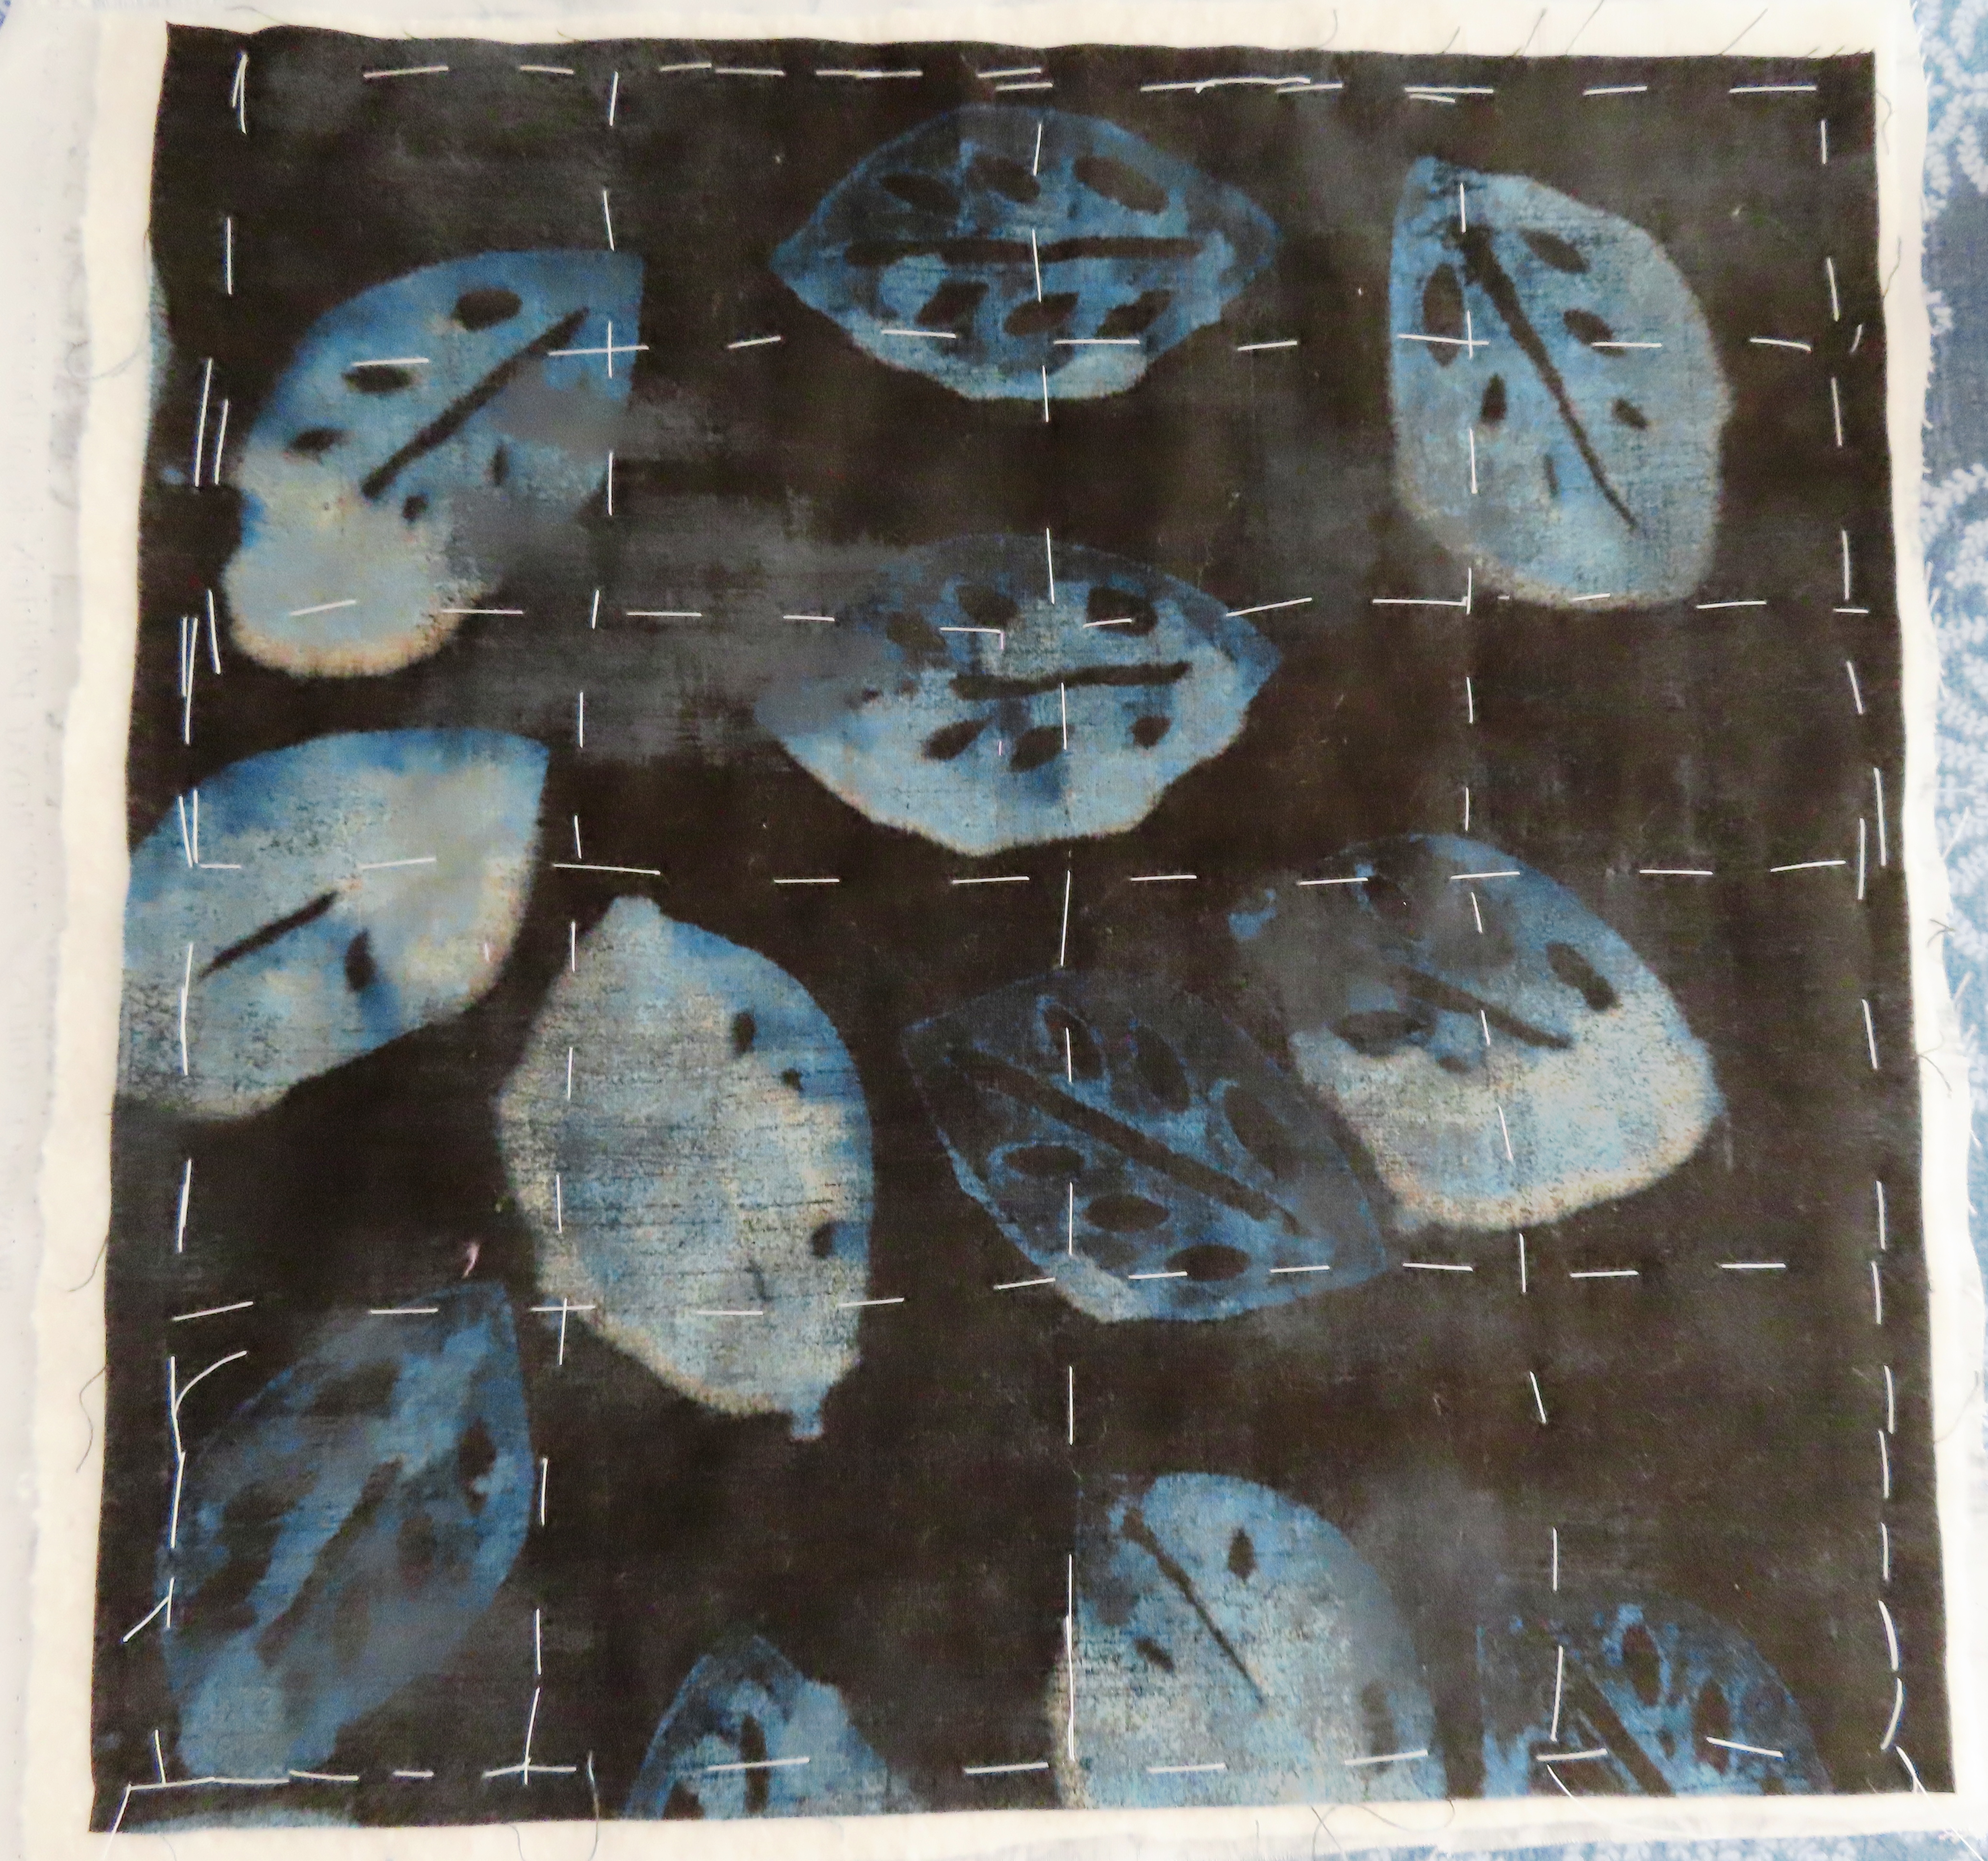
I have chosen a square from my scrap bag that's been discharge dyed on black grunge fabric.  It measures about 12" square.  Cut a batting and backing square the same size.


Next, I chose threads of various thicknesses in blues, grays, and black.  Some of them are variegated colors.  Most are DMC embroidery floss and some perle cotton by Wonderfil. 


The tools we will use are embroidery scissors, basting needle/straw needle, size 24 Chenille needle or embroidery needles, and a thimble.  No ruler or hoop is needed.  

Layer the top, batting, and backing like a quilt sandwich.  Baste the layers together using a very large stitch (these will be removed as you go).  


Use 3 strands of DMC/embroidery floss, if using, cut it to about 14" length.  Just enough to go the width of your square in one direction.   You will be using a running stitch across the length, making one line and tying off, then starting a next line with a different color or thickness of thread.  It is your choice.  

Put on some music and relax.  Lay down as many lines of running stitches as you would like.  Space them out at first and fill in later as you would like.  I put about 1-2 inches between the lines and filled in.   

Your stitches should be big in your perception.  Not like hand quilting stitches, where you try to get 10-12 stitches per inch.  However, you do not want too big of a stitch like basting stitches.  Keep a comfortable size stitch and don't worry too much about how even they are.  The purpose of the project is to relax and enjoy the process of big stitching.  


This last picture is of the back.  My stitches are not evenly spaced or straight and I'm OK, really OK with that.  I love this handmade look and if I tried to replicate it exactly, it wouldn't look the same and that's what I want.  A natural flowing running stitch that's not measured.  

When you have stitched all the lines you would like, now you can finish off the block as you like.  Turn it into a small pillow or table mat.  Or do a whole bunch of little squares and join them together in a larger quilt-as-you-go quilt.   Finish the edges with binding or a facing and enjoy your little big stitch project.  

Monday, January 2, 2023

Retrospective 2022

I'm a little late in writing this post and reflecting back on the year has me thinking I have actually accomplished a great deal more than I thought I would.  The photo above is Improv curves zoom class given by Cindy Grisdella.   This was finished at Quiltville retreat in July.  

In January, the Hickory Knob retreat was a success as I thread painted and finished a cheater panel as well as working on 2 UFO's and making blocks for a donation quilt. 

Mid-March was the Mystery quilt workshop I attended.  Not liking it or the direction the quilt went in, I abandoned it and will be giving it away.  
We celebrated our 40th wedding anniversary this year, by renewing our vows in Savannah at Forsythe park.  It was a glorious day, despite the weather.  Touring this old historic city was on my bucket list.
DH and I went to Maryland together and while he went to work, I stayed in the hotel room sewing up
blocks like my own private retreat and binge watching Law and Order.  It was fun, away from home, eating take out and sewing.  We even went on a road trip to Annapolis to a quilt shop there.  Antique shopping, having crab cakes and authentic Greek food, and just spending time with people I love made this trip very memorable. 
In October, DH and I went on a road trip to Elijay, Georgia being the apple capital and where the apple festival is held every year.  This was a fun and exciting trip where we visited the town, bought too many apples and stayed at a hotel atop a mountain with a beautiful view of the changing fall colors.  
I made over a dozen ornaments, baked many types of bread, including sourdough breads, collaged and finished a couple before the end of the year, and the best of all of this is that my son came home to visit from Germany over the holidays.   Here's to 2022, cheers!   


Wednesday, November 9, 2022

November Musing


Wow, November is here already.  I'm starting to reflect back on this year and am a little disappointed in myself.  I didn't finish as much as I wanted to, still having an overflowing basket of UFO's.  But, I also realize that a lot was accomplished this year.  I joined a postcard exchange group, joined in Round 4 of the Facebook group National Quilt Museum Block of the Month, took a zoom class with Cindy Grisdella and finished the Improv piece she taught, and I finished various small projects including a cheater panel that I thread painted.  Photos below.


 This is the Improv curves zoom class project.  


I also collaged "Oliver" a free pattern offered by Emily Taylor and finished it into a wall quilt. Photo below.

Besides quilts, I've been making ornaments too.  I belong to the Ornament Girls and am always amazed by the creative monthly ornament patterns.


But, there's still time left in the year to finish a UFO or two, I'll just have to make some time.  One more mention...I rearranged my sewing room which gave me more room and better organization.   Happy sewing/crafting.

Friday, September 2, 2022

Orphan blocks and Fall musings

 In recent years it seems I have been amassing a large quantity of orphan blocks.  I feel compelled to save these for some great project for the future.  But, in reality, they are just taking up valuable real estate in my already crowded space.  Time to bust that stash of unwanted blocks.  There is such a variety in style, size and colors that they wouldn't go together in one grand piece anyway.  It's a ridiculous notion.  For this year's "Flood the Streets with Art" project, I will be making pieces from all my orphan blocks to be re-homed to those they speak to on the street.  

So far, I've made some mug rugs and book marks.  I will also be making cup cozy's and pot holders with those orphan blocks and scraps from my huge scrap bag.  

Along with these blocks cluttering my space, I find my mind cluttered as well.  This is definitely a blocker of creativity.   In a world of noise, confusion, and deadlines this is what I need... Peace, solace, quiet, deep breathing, and less.  Less of everything.  Less clutter, less "to do's", less mundane everyday chores, less visual and audio noise.  The saying "less is more" applies here.   Once the ideas come to mind and implemented, less may not be more.  More may be just what the piece needs, but for the time being...less is certainly more.  Not necessarily a minimalist by nature, but sometimes it's what's required.  Moving onward...

The Corn Relish was canned in May when corn was coming in, at least in the south, and I opened one the other day.  Deliciousness.  First time I've made it, so was very pleased with the outcome.  By the way, my jars here are a green glass, so that's why the relish looks weird.

It's September already and the fall season is upon us.  My favorite time of year.  Mother nature makes significant changes in our environment with color displays, weather changes (mostly for more favorable temperatures) and the autumn harvest.  Last chance to pick up fresh goodness from the farm stands or go to the U-pick farms.  Should I can other veggies?  Probably, but will do some planning on this for next year.  I've always been curious about Piccalilly  and will research some recipes.  I used to purchase it for myself while in the UK, but being the only one in the family that likes pickle, it's hard to finish an entire jar of it.  

Apples are on my radar at the moment.  A good fresh homemade apple pie is what I'm craving.  It just screams fall flavors to me.  Pumpkin wasn't really a thing while I was young.  Only for carving at Halloween, and we saved the seeds for roasting, but all that yummy pumpkin was thrown out or cooked down for pumpkin pies for Thanksgiving.  These days, I do love a good pumpkin spice latte with real pumpkin, sorry Starbucks it's not you...sorry DD it's certainly NOT you either.  Nope.  Go to a really good café that brews and roasts their own beans, such a difference.  If you're willing to spend that much moolah on a cup of brew, it should be fresh, delicious and favorably memorable.    

Time to sew something wonderful.  Have a beautifully colorful fall season.  :o)


Wednesday, May 18, 2022

Beach Glass

 We love to beach comb whenever we are visiting the beach.  I've picked up shells, rocks and beach glass.   Sand Dollars were easy to find along the Corpus Christi  beach we used to visit.  Petoskey stones were abundant along the shores of Lake Michigan years ago.  But, I favor finding beach glass.   The glass is beautiful reflecting in the sun.  Its edges smooth from tumbling in the ocean for who knows how long.  Mostly being worn and frosted, no longer clear glass, it can be hard to assume what the glass was originally.  Perhaps soda or beer bottles, or glass balls from fishing nets.  The hardest color to find is red, being there aren't many glass items made using red colored glass.  I've seen jewelry made with beach glass as well as artworks, cards, mosaics and all sorts of craft items.   I've always wanted to find enough beach glass to incorporate into an art quilt.   There are many examples of sea glass, beach glass, pebble, stones in quilting using bits of fabric scrap.   But, I want to find a way to embellish an art piece with beach glass.  To do this, my thoughts of encasing the glass in a cage made of wire and attaching it to the art with heavy upholstery thread or fishing line could work.   Years ago, I made a craft heart attaching shisha mirrors to the surface with embroidery work. There will be a trial and error period.  


These are post card size art pieces I made recently.  They were made to be mailed, so adding a lot of embellishment is not ideal.   A few beads were added on the card above and when I mail it, I will put it in a small padded envelope.  


This one is my favorite using Kaffe Fassett fabrics by Free Spirit.  I added a sequin and bead for his eye.  It will also be mailed off.  
The components used in creating post cards is minimal and can be very inexpensive.  Use what you have on hand.  You could back it with card instead of using a stiff product as I did.  Pellon makes a fusible heavy weight called 72F Peltex II and is fusible on both sides.  You can go here to find out more.  HERE  They also make a variety of other products that are equally suitable.  I like the two sided fusible and stitching through the layer is easily done without sticky gummy needles.  

After the card is completed, I write on the back using a Micron Pigma permanent pens which come in an array of color choices.   Place the card in a clear sleeve.  Add US first class postage + extra postage for non-machinable handling and Mail it.   It's a surprise and utter joy when the recipient receives the art card in their mail box.  

Thursday, May 12, 2022

Pack Rat


I realized one of my sewing room drawers holds countless needles.  Hand sewing needles.  I do some hand sewing, but this is ridiculous. There's another drawer with a big stash of sewing machine needles.  I found cross stitch needles...and I hate cross stitch.  It's time.  It's definitely time to do a clean out.  Every drawer I opened seemed to be brimming with "stuff".  Am I a pack rat?  That "one day, I'll need this" has never come.  It's not just needles, I've saved empty foil and plastic wrap rolls to wind bindings on and one drawer is full of paper I've made along with some I've painted and marbled.  So, it's time. 


I just finished this postcard and will mail it off soon.  I love it.  I hope the recipient will enjoy it.  Years ago I was doing a postcard series called "postcards from the edge".  They were meant to contain content of the places I've been and lived.  But also incorporating some techniques I wanted to try out on a small scale.  In the back of my mind, I want to return to this and pull out my journals to refer to.  Finding time is of course, one of the aspects.   Ideas still abound.  


Journal mini quilts

                                                                         "Beach Glass mini" Journal quilts are those works of art ...