Friday, June 27, 2014

Mug mats

Seems like mug mats are all the rage now in the quilting realm.  I've wanted to try the selvage technique for a few years and have decided to make mug mats using selvages.   Another new concept for me is to show you step by step through photos.  Usually I am so focused on finishing a project, I forget to take step by step photos so here is my attempt at the process.

MUG MATS - a how to

You will be sewing your selvage strips onto a foundation fabric.  This can be anything light colored like muslin, or a lightweight cotton.  Cut 4 squares 5.5" and set aside.   If you've already cut selvages to use at a later date....bravo!  If not, doesn't matter, go through your stash and choose some yardage that has a good looking selvage edges and cut the entire length about 1-2" from the edge.  This gives you a little bit of the pattern as well as all the writing and coding you want.   I've seen some selvages with ladybug coding that just looked precious.  Don't worry about the imperfections in the selvage, like the pin holes or dodgy print or writings, these things add character and the pin holes will not be noticed when you've completed the mats. 


Choose a strip to start and lay it on the diagonal in one corner of your foundation.  Press lightly, if needed.  I use my walking foot with the needle position on the second dot from the middle (Bernina 440).  Sew a straight stitch close to the edge or on this strip, I stitched on the white line of the selvage where the pattern meets the selvage.  As long as you catch some of the foundation edge, it's fine.  Now choose your second strip.  Lay it down deciding how much of the pattern you want to show, being sure to catch the first strip edge in the seam.  Sew as close to the edge as you can.

Press and turn back the second stip to expose the seam allowance, if there is excessive fabric, trim to just under 1/4" to reduce bulk.  Be sure you don't cut through the foundation square.   Now choose your third strip and place it next to the second, sew down, press, trim, etc... until you've covered the entire foundation square. 
 
Trim to 1/4" for seam allowance. 
 
 
Trim down to 5.25" square.  Choose your backing fabric and cut the same size.  Using Insul-Bright, cut one square 5.25".  Layer the squares to make your quilt sandwich and sew a scant 1/4" around entire edge leaving an opening to turn.
 
Order of stacking: Insul-Bright, backing fabric (RSU), Selvage front (RSD)
 

After you've sewn around all edges and before you turn RSO, trim all the edges and clip corners.
Now turn RSO and gently push corners out to make as sharp a point as you can. Press and turn in the open edge and press.  You really don't need to pin, just hold it and align this edge in your machine first.  Sew very close to the edge, about 1/8" all around.

 
After you've sewn around all outside edges, you can quilt the middle section as desired without stopping.  I just made diagonal lines following the selvage lines. Your finished mat measures 4.75".
Front side
Reverse side
Set of 4 with different reverse sides.
The perfect house warming gift!


Wednesday, June 11, 2014

Camera Case - How to

I use a small Canon Power Shot camera and want a camera case to keep it from scratching and getting dirty.
Camera cases are a hard thing to shop for.  They always seem to be too large and bulky, not to mention expensive for what they are.  So, I made one.  It only took about an hour to complete and uses scraps of fabric.  

Use an outer fabric and a contrasting fabric measuring just over the size of your camera adding a flap to fold over the top of the case.  Measure your batting or ByAnnies lining the same size.  Mine measured about 10"X6".  With the lining between the two fabrics, place on your machine and quilt as desired to the edges.  I used a basic grid pattern and purple thread.  

Determine where the Velcro will go and pin.  Sew down, one half of the Velcro on the outer fabric edge and the other half of the Velcro on the inside fabric flap edge.  Do not sew too close to the edges.

Next lay the camera on top of your sandwich and trim slightly, remember you will need about 1/2 inch all around for the side seams.  Fold outer fabric to the inside just about 1/2 way so there will be enough for a flap and your camera will fit inside.  Pin and sew up the side seams.  Turn right side out.  Trim  the flap so that the seams from the sides do not curl the flap and when folded it lays flat.  This is just a slight trim.  

Cut your binding on the bias.  I cut strips 2 1/2 inches wide. Sew strips together and iron.  Fold in half length-ways and iron.  Make the handle strap the same way only folding one more time and sewing down the edge to make a smooth fine finish.  Pin the edge of the bias onto the bag and carefully pin all around.  Place the handle strap edge inside the edge of the bias strip.  Sew down carefully.  I hand sewed the inside edge as I thought it was a little fiddly getting the bag in my machine.  Hand sewing can hide a multitude of mistakes, too.  Not that you will have any!  Viola, you're done!  


Thursday, May 29, 2014

Inspiration

Now for a little Inspiration....


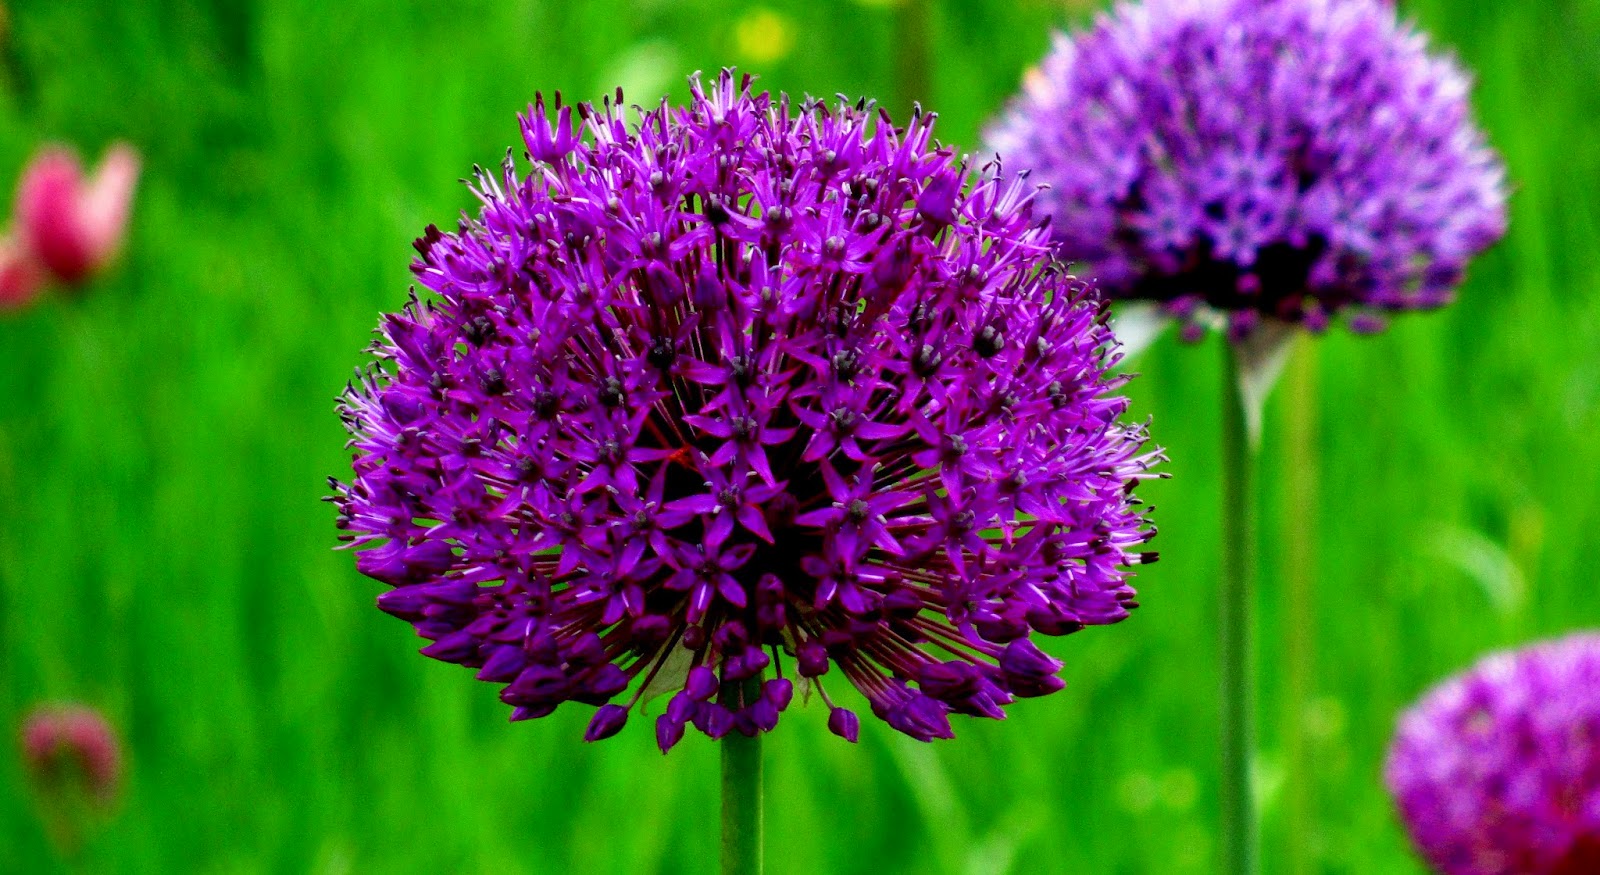
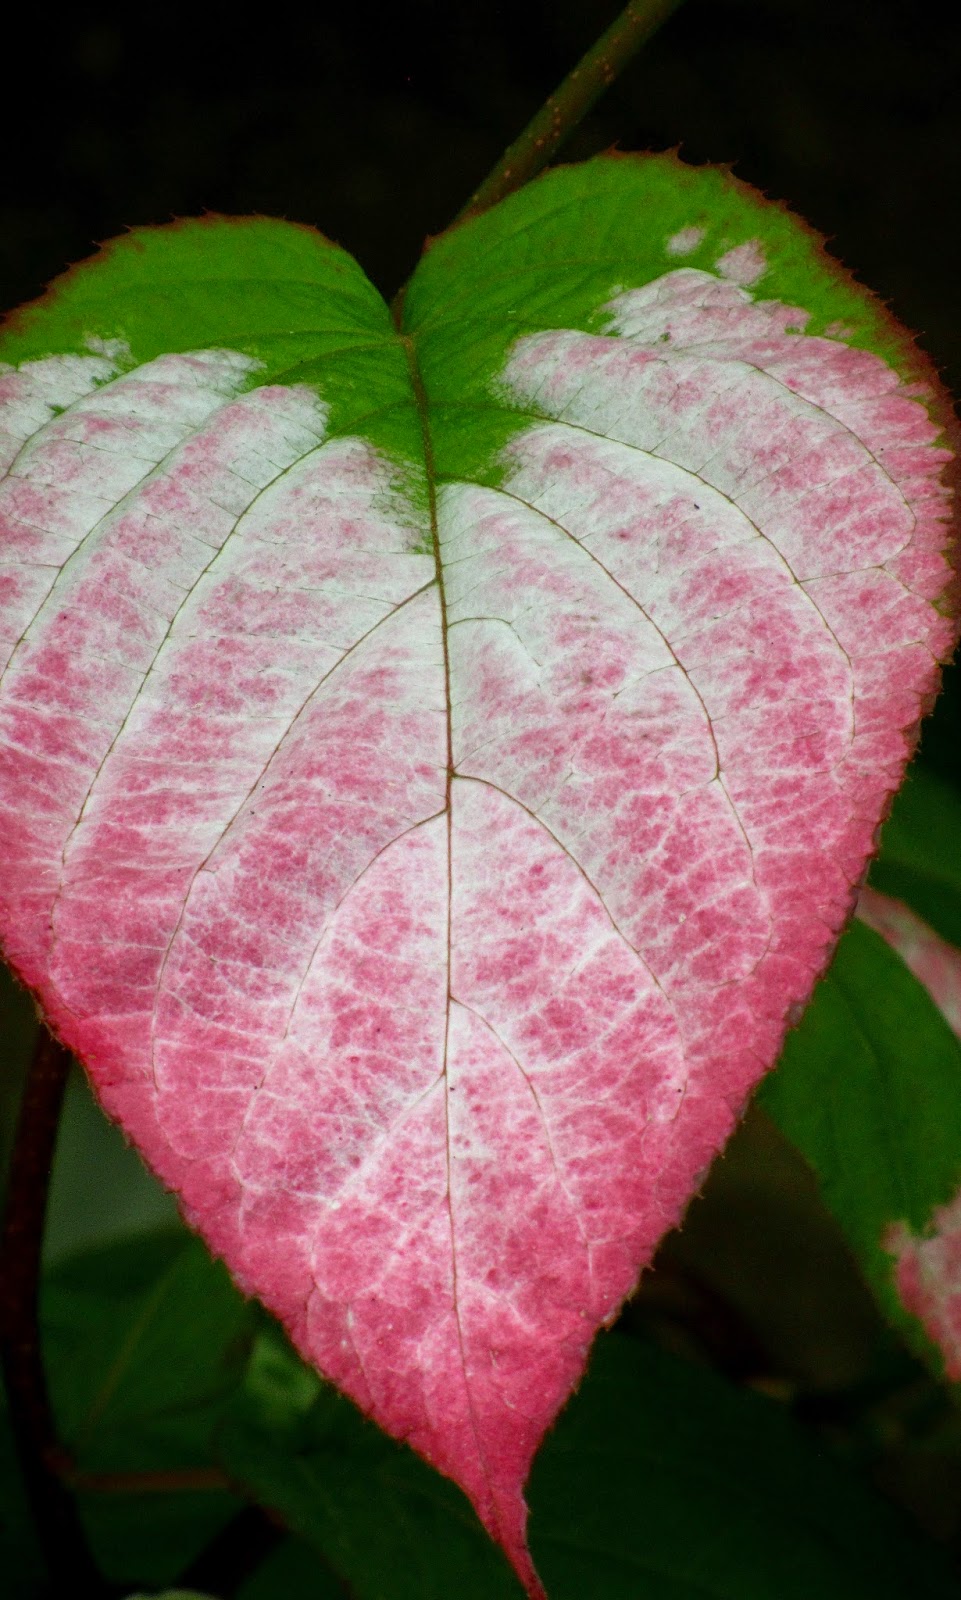
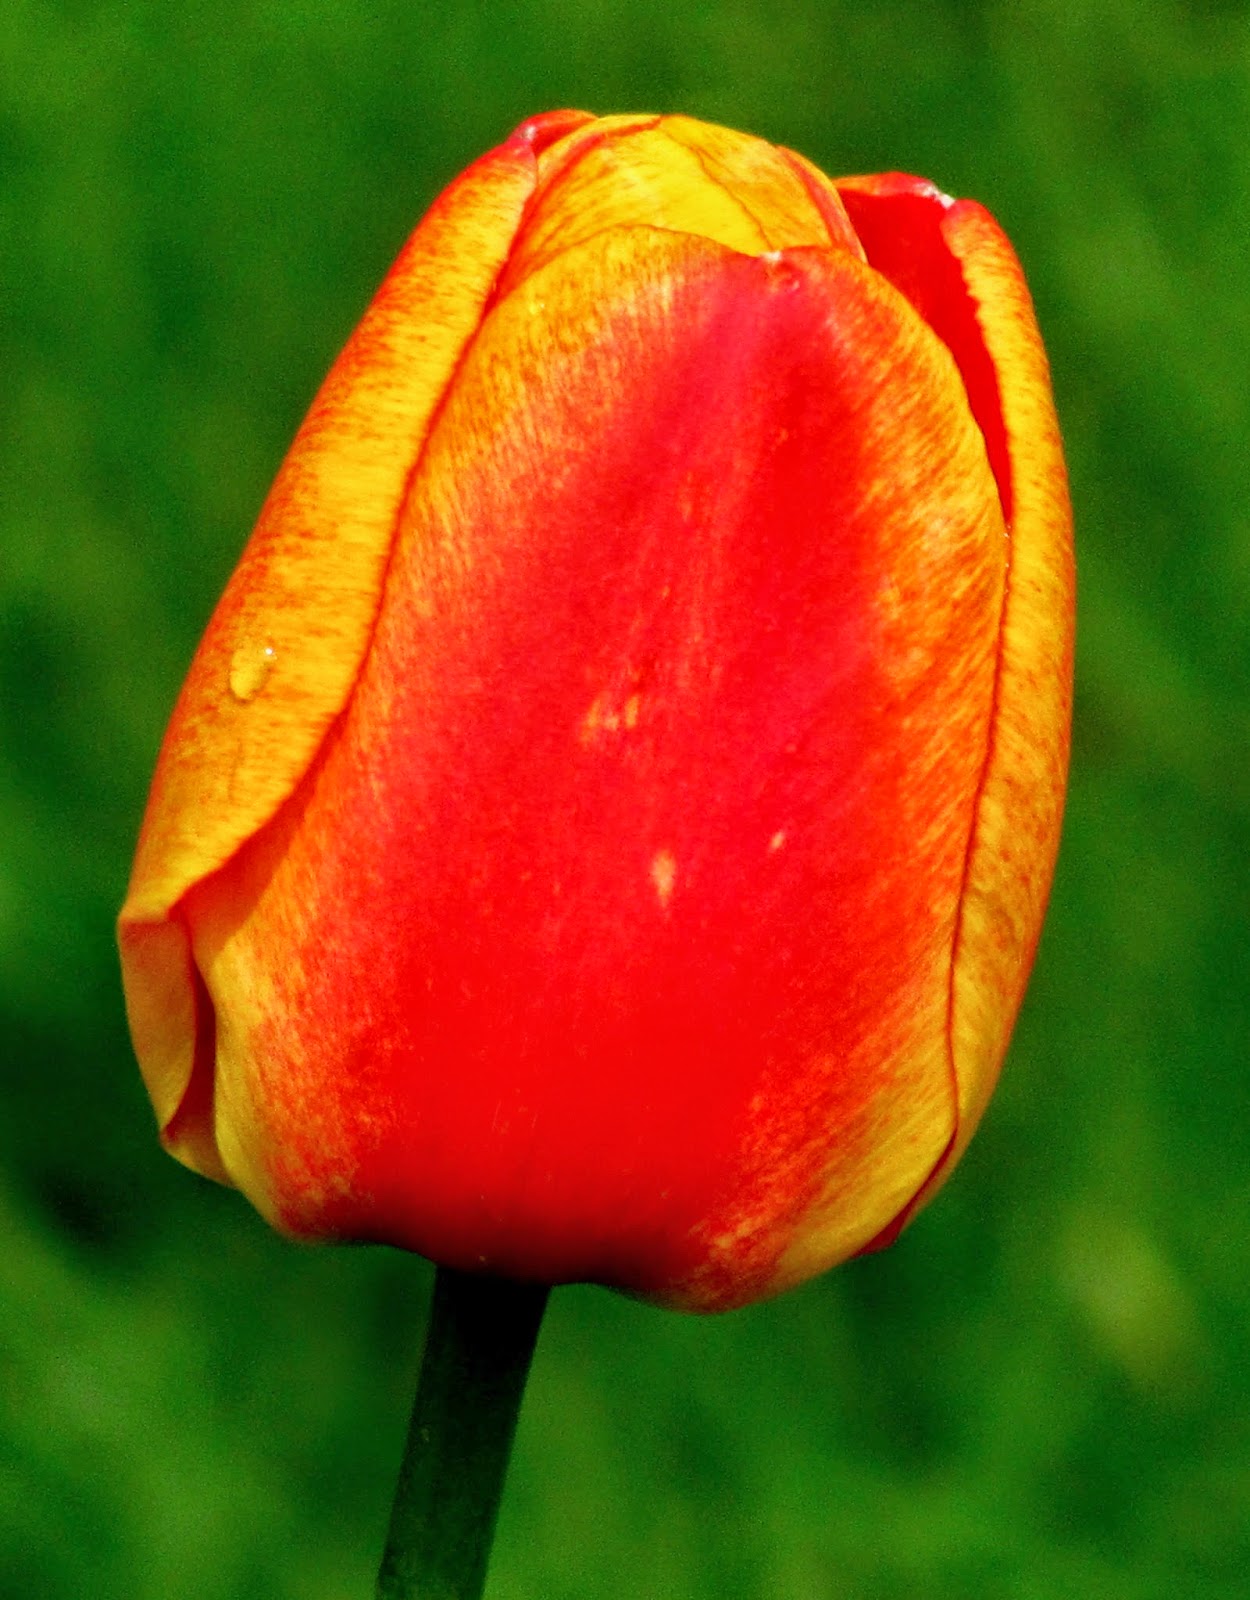
Can you tell that I love flowers and plants, especially if they are dewy?  Now to get busy and create something wonderful....;o) 

Wednesday, May 14, 2014

UFO - Time to Quilt

I can finally say my UFO basket is shrinking.  I found the oldest project at the bottom and brought it to the top.  Thirteen years ago, I was given several blocks from the guild I belonged to as a good-bye gift.  The theme used was the surrounding area or nature.  All those creative ladies contributed blocks and signed them.  What a wonderful treasure to find after all these years.   I hadn't forgotten they were there, it just took me this long to figure out how to compose them in a quilt.
This top is not quite finished, though.  I want to frame it with a narrow border in the black.  My picture is wonky because it is stretched out on the floor of my studio.  It measures 72"X 72" at the moment without the border.  This was a challenging project, but not hair pulling or difficult, just time consuming. 

Already gearing up for the next oldest one in the UFO basket.  Yep, this Valentine top has been kicking around my studio for quite some time.  It is hanging in the corner of the studio just waiting...brewing in my mind. 
Previously, I mentioned adding a border with the words "Be my Valentine" only on the top and bottom.  Now, I am toying with the idea of adding words all around the outer border with some paper-pieced hearts to separate the wording.  When I place UFO's aside, I always put the remaining fabrics together with the blocks or top so I can easily pull it out and get back to it.   There are several scraps I can use in the border leftover.

I made a half dozen mug mats using the selvages from my scrap bag.  They all look wonderful scattered on my small glass top kitchen table.  (Ugh, blogger won't let me add any more pictures!!?)

So many quilts and projects I make look girly.  To remedy that, I try to think "what would my husband or son like"?   Not necessarily colors, but what elements or shapes would they like.  Then I think about colors and designs in fabric.  I was surprized to see my husband love a recent modern quilt I made using a geometric grid with lots of negative space, but the focus fabric had large-ish flowers all over.  I will blog about that one in the future.


Monday, April 28, 2014

April Showers Bring May Flowers

We've had some wet cold days lately.  I am surprized the flowers don't just stay in the ground sometimes.  But, they are tougher than I am, as I snuggle in my favorite chair bundled up with my cup of tea close to hand.   The sun broke through the clouds overhead and the tulips responded.


One of the ladies at my Friday group mentioned that one of our members is still struggling with shaking her bronchial infection and has been home in bed for the last 5 weeks.  So, I went home and being inspired by my garden's tulips, I made this postcard for her.  It is paper pieced with scraps and measures 5"X7".    The middle layer is fusible stiff vilene interfacing, quilted clear monopoly thread and then you fuse on the backing fabric (white so you can use pigma pen to write your message and address) and using zigzag stitch and polyester thread, stitch the outside edges.  Really easy.

We as a Nation, tend to celebrate everyday and call it National _ _ _ day.   So, today being Blueberry pie day, I made a pie.   Blueberry just happens to be  my favorite.
A few years ago, I bought the lattice pie cutter along with a metal pie saver ring to go on top to prevent over browning.  I use these tools everytime I make a pie and love them. 
Next month, May 13th, we will celebrate Apple pie day.  Love that, too.  You can bet I will be making a pie.   ;o) 

Wednesday, April 23, 2014

Earth Day

Please enjoy my pictures as these were taken in protected gardens where gardeners take special care of the plants and grounds, one day we may not have this luxury....

Today I want to comment about something we should all feel passionate about and that's saving our Earth.  I remember back when Earth Day was a special day to recognize our Earth and its need to be saved from pollutants and the mountains of trash we produce everyday.  Some how over the last decade or two we've lost the interest in saving our Earth, thinking that maybe recycling is enough.  That's our pathetic solution, just to recycle or reuse/re purpose something whether it's an item of clothing or using a jam jar for a handful of nails in the garage.  Don't get me wrong, I recycle and have actively recycled for 35 years, since recycling was started in the area I live in.  But, somehow it has become OK to buy a crate of plastic bottled water because in the end the bottle will be recycled.  Over the course we have lost the 3rd part of the system and that is REDUCING.   


BBC showed a special report on the region in Indonesia near textile plants and the effects on the local community of dumping in the river near homes that use the water on a daily basis.  It was appalling. It literally made me sick to my stomach to see these poor people being subjected to using polluted water to drink, cook and  bathe with which had sewage and dye from the textile industry dumping into the same water.  Local fish and game were certainly affected by the pollution.  One fisherman no longer catches fish as they are all dead, the oxygen being depleted from the water, but he "fishes" for plastic to sell at the recycling plant.   They reported that there are federal sanctions on dumping in place, but their government does not take action against it forcing some local families to take their own futile actions trying to stop dumping by plugging up the drainage pipes from the textile plants.  In turn, this does no good for them as they are unblocked and continue to carry on their processing.  Batiks are big industry and we all love them, but at what price?  When will enough be enough?  What is it going to take to make anyone realize what is truly going on?   I watched in horror this morning as the news reported as a matter of factly, the oil slick surrounding the ferry disaster near South Korea.  Hundreds of students and people lost their lives in this disaster and now the oil slick is being swept across the yellow sea and out to the ocean.   The Malaysia flight 370 disaster in March is still lost and early on they investigated the southern area off China and discovered a "large oil slick", but later was ruled out as the site of that disaster, just another oil slick.   Satellites have reported back with debris in several areas off the Australian coast and Indian Ocean, some were ruled out as whale carcasses, but others just debris not related to an airplane disaster.  How much debris is floating in our seas? 


This is my rant today, I am sticking up for the Earth.  Everyone needs to recycle, reuse/re purpose and REDUCE in order for it to really matter.  Be an advocate for stopping the use of plastic carrier bags.  Please visit morsbags.com today to make your own bags, or create your own pod and get your friends to make some.  Organize give away days in your community to make people aware of the dangers of waste in our waterways.  Start using products that have been recycled like the Dream Green batting made from plastic bottles.  This is just one SMALL way to take action, but it is a start.  Reduce your waste by composting if you have the means.   Sell back your old clothing to the rag and bone man or give to your charity shop.  They take nearly everything as long as it is still in working order, not stained or excessively worn/torn. On the other hand, if you do have some textiles not good enough to donate, make something yourself, I am in the process of making rag rugs from old torn jeans.  Search the internet for further inspiration on re purposing your items.  Or see the link above on the  morsbags.   Let's make everyday a "Happy" Earth Day! 

Wednesday, April 16, 2014

Interesting Threads

The last few weeks I've been able to catch up on the thread university courses sent to me from Superior Threads. go here The projects are simple for the most part and the threads are wonderful to work with and learn about.  If it weren't for these courses, I would probably never purchase these threads for quilting and sewing.  However, this bag project used silk thread which I do purchase quite often. 
Quilted using silk threads.  It was easy to sew and the finish is just beautiful.  I like to use silk thread for applique, slip stitching and binding as it is fine, strong and doesn't show as much as cotton thread.  There are many positive features using silk thread, but one of the best features is that it doesn't shed fibers so it is virtually lint free in the machine. 

The next project was this candle mat using Razzle Dazzle and Glitter threads.  Please don't pay attention to my disjointed star mistake, oops.  I measured my lines wrong.  But, the metallic threads were suprizingly easy to use and gives the mat a nice look.  The edges were hand sewn together using embroidery floss and blanket stitch. 
The Razzle Dazzle thread is very thick and used in the bobbin. 
The Glitter thread is thinner and used as top thread in the machine.   Gold color and is subtle, but I'm not sure I like this side as much. 

This next one is also a metallic thread and used stiff pelon interlining.   Cotton varigated threads to finish the edges.  My sewing on this could have been better, it was a late night.  This "bowl" can be shaped.  The pattern has 5 darts you sew in to give it shaping. 
Learning how to use these different threads has sparked my interest into experimenting with thread painting and I will be making some samples in the future.   Possibly adding some of these threads to my ongoing UFO's.  I think they add more depth, texture and interest to quilting and general sewing.

Friday, April 4, 2014

Marching on

Our weather is getting better and better.  It hasn't been a hard winter like some have been experiencing, so I won't complain.  It doesn't look like I've accomplished much from the few posts I've written, but I assure you, my sewing machine is smoking from all the recent work it's been through.  So, the most recent project I've completed is this little bag.  No, it's not for a kindle, ipad, or any other gadget (I simply don't own these things anyway), it's a little purse with a simple zip and a pocket on the back side. 

The zip attachment was easy and you must choose a contrasting color to show off the zipper instead of hiding it.  The back side shows the contrasting pocket.  The strap I added is long enough to cross over the body or over one shoulder.  You could also tie the strap half way down and carry it. 

The next project finished was this easy pillowcase using Nite Lite thread.  It glows in the dark.  I also used glow in the dark spider web design fabric for this Halloween inspired project.
Sue's City Windows is now finished with a label and a rod pocket.  Wow, two things I don't often add, but know I should. Sue is my sister-in-law and wanted a quilt to hang over her sofa in her living room.  I am hoping she will be pleased with the result.   DH is secretly hoping she doesn't like it and will send it back to us.  Yeah, he's a sweetie.  This is a pattern I have done before which hangs in my dining room now. Since Sue wanted it to hang over her sofa, I had to change it up a bit and make it wider and shorter in length.  So, it hangs like a landscape as shown below.  By the way, it is laying on a bed and that's why it looks a little wonky.  I would say it is about 1/3 the size of my original. 


Yes, some of these fabrics were from the Kaffe Fassett line used in "Color My World", but this one has a purple coloration to it.  Where CMW has more red colors.  The free motion quilting in both quilts is my own design depicting a tree of life and the bible verse from John 3:16 "written" in quilting stitches filling the trunk of the tree.  Outside of the tree design, I did a meander design in clear polyester thread.

When I started this blog on 12 November 2007, I posted a picture of "Color My World" which I completed March 2000 and entered it in a contemporary competition which to my delight and surprise won a design award.  After 14 years, I still really love this quilt.  I personally can't say that about everything I create.
There is so much more to do in my sewing room with a list of new starts and my ongoing UFO basket.  The only question is what to do next?  Shall I just close my eyes and pick one at random?

Journal mini quilts

                                                                         "Beach Glass mini" Journal quilts are those works of art ...