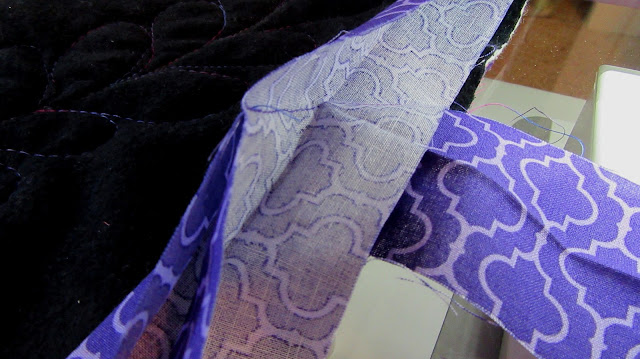
Now for my explaination of how I bind my quilts. I am working on a twin size t-shirt quilt for a friend. The borders on the top of the quilt are flannel and the backing is batik fabric, not the typical fabrics, but it is do-able. For the majority of the quilts I produce, this is how I bind them.
1. Finish quilting your quilt out to the edges. Lay the quilt flat on a large table or the floor.
2. Place a cutting mat underneath the edge. Square up the edge using your long ruler and rotary cutter. The top, batting/wadding, and backing is going to be cut in this step. You could do this step in the end after the binding is attached, however you have to be extra careful not to cut into the bound edge.
3. Cut (if you haven't already) the binding strips straight with the grain, if you have no curved edges, 2 1/2"wide by the width of fabric (usually about 44" after cutting off the selveges). If your quilt is not square and has curvy edges cut bias strips. You will need to measure the perimeter of your quilt to determine how many strips you will need to join together. Be sure to add about 8-12" to this length so you can join the binding in the end.
4. Join the strips together with a bias seam. So, one strip will be laid down right side up, the next strip will be right side down and at a right angle on one end. Sew a seam from the outer edge to the inner edge at a 45 degree angle. Trim off the triangle. Join all strips together and iron seams.
5. Iron the entire strip in half lengthways. This will take some time, but be sure to place the strip edge to edge and iron down flat.
6. I've made a cheap binding tool/spool to contain the binding while I sew it to the quilt edge. Made from cardboard and slit at both ends so you can wrap the ends onto the spool.

7. Leave about 5" tail on the edge you are starting from. Lay down the binding on the quilt top edge. I use one pin to start. Attach the walking foot, thread your machine (I use King Tut thread and size 14 topstitch needle). I also use a little longer stitch length, 3, so if I have to rip out I can do that eaisly and not have tiny holes in the top to damage the quilt. Start sewing the binding down keeping all layers flat, even and smoothly feeding through. Use the needle down feature if you have it. Stopping and adjusting as you go.
8. When you come to a corner (90 degree). Stop with the needle down 1/4" from the bottom edge. Lift presser foot and turn, reverse 3 or 4 stitches so you can fold back the binding strip as if you are making a pleat or dog ear. Now, line up the binding edge to the quilt edge and start sewing seam.
9. When you come to the final few inches (leave at least 10" to 12")...STOP. Be sure to leave another tail about 5-8" long and from the beginning stitching.
10. Now, fold the edges of the binding toward each other until the meet somewhere between the gap. Iron the fold so you can see a cross hair in each strip when it's unfolded.
11. The picture above shows the seam line on the bias. You fold one edge out right side down and the other end is folded out at a 90 degree angle right side up. I pin the seam line and test the edge by fold back on the edge to make sure before stitching.
12. Sew the bias line and trim to leave a seam allowance. Fold back and iron flat before stitching the remaining binding edge to the quilt.
13. Turn the quilt to the back and fold the bound edge over. I like to hand sew the binding the the back as it looks invisible and gives a neat edge. When you come to the 90 degree corner, carefully fold the edge down and take a couple stitches in the corner.
All done! Now to get this quilt back to my friend, her daughter needs it for her college dorm. ;o)


.jpg)
No comments:
Post a Comment